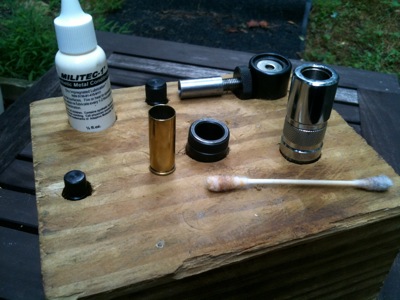
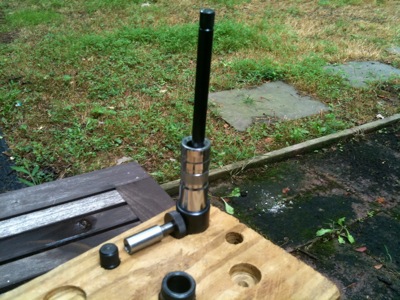
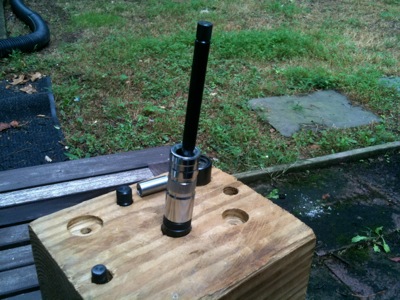
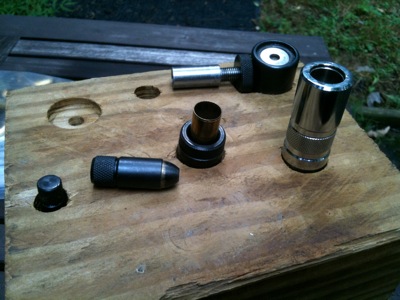
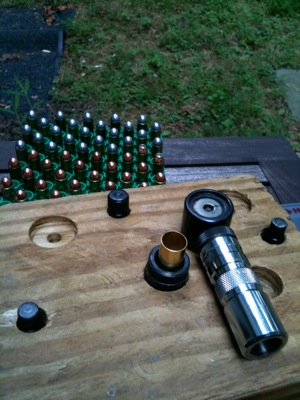
Tools and Reloading Block.JPG
Tools and reloading block - These are the components of the Lee Classic Loader kit for .45 Colt ammunition plus the gun lube I have sometimes used as case lube as well.
|
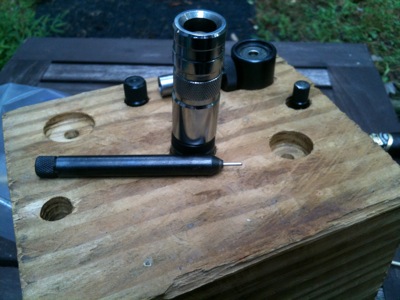
Decapping / Depriming.JPG
Decapping/Depriming - This de-capping tool is used to remove spent primers from brass before reloading it. I Recommend de-priming the brass before cleaning. In that order the primer pocket will also be cleaned.
|
|
Case Sizing (1).JPG
Csase Sizing - After applying lube to each case, the case should be sized by hammering it into the smooth (exterior) end of the die.
|
Case Sizing (2).JPG
Case Sizing (2) - The case should be flush with the die mouth. This is expecially important if the priming chamber pictured will be used to insert a primer into the case.
|
|
Priming (1).JPG
Priming (1) - In order to use the Lee Classic Loader kit priming tool, place a primer (cup upward) in the priming chamber as shown.
|
Priming (2).JPG
Priming (2) - place the die comtaining the brass directly over the primer from the last step. Use the priming rod to hammer the brass out of the die in such a way that the primer is inserted into the primer pocket. This is a step that is an acquired feel.
|
|
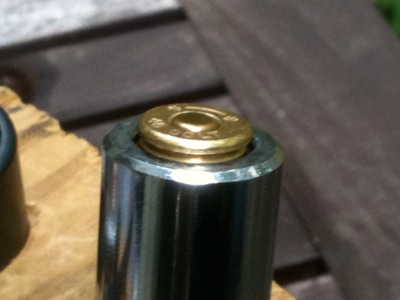
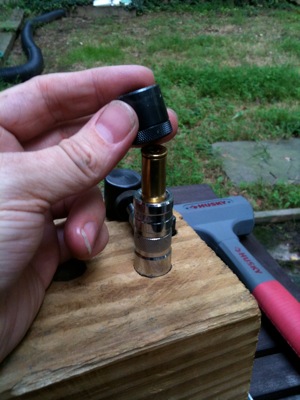
Warning (Primer).JPG
WARNING - whether using the priming chamber or the Auto Prime, primers must be seated flush with the bottom of the case. The primer shown is not seated deeply enough and may result in malfunction, failure to cycle, and/or undesired ignition.
|
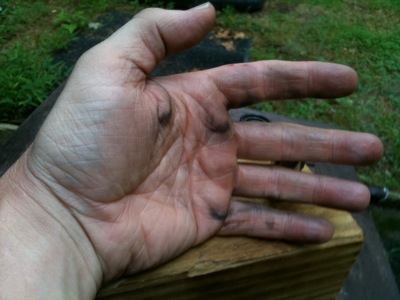
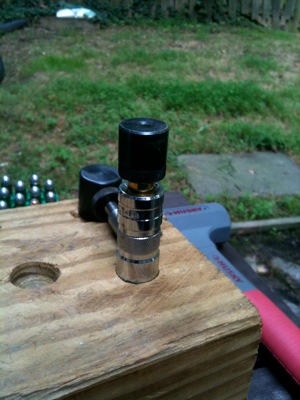
Priming Caution.JPG
Priming Caution - While using the Lee Clasic Loader priming chamber, my personal experience resulted in accidental discharge of appoximately 2% of the primers. This is not harmful at all, but it does make a mess. Also, if you are loading in the house, the primers going off will alarm the Mrs.
|
|
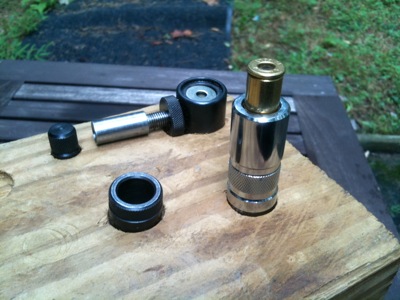
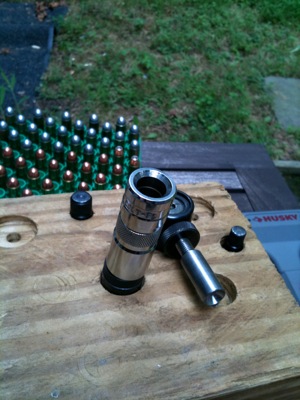
Alternate Priming.JPG
Alternate Priming - If an alternate priming method will be used (such as the Lee Auto Prime) the priming rod can be used to hammer the brass out into the decapping chamber. This will give you sized brass that is ready to be primed.
|
Flaring (1).JPG
Flare the Case Neck - After case sizing (before or after priming) use the flaring tool to slightly flare the cask mouth.
|
|
Flaring (2).JPG
Flare the Cask Mouth (2) - Place the flaring tool into the case mouth and hammer lightly. Flaring the case mouth will allow bullets to be seated more easily. Flaring too much will result in cases that are more difficult to crimp.
|
IMG_0590.JPG
Alternate Priming - If an alternate priming method will be used (such as the Lee Auto Prime) the priming rod can be used to hammer the brass out into the decapping chamber. This will give you sized brass that is ready to be primed.
|
|
IMG_0593.JPG
Powder - Carefully add powder to each case. Many cases can hold unsafe volumes of many powders. This is especially true of older designs such as the .45 Colt which was originally designed for black powder. In these older case designs great care must be given to ensure a double charge of powder is not added.
|
Bullet Seating (1).JPG
Bullet Seating (1) - Place the bullet containing powder into the decapping chamber.
|
|
Bullet Seating (2).JPG
Bullet Seating (2) - Place the die body over the case so that it rests on the decapping chamber with the smooth exterior facing downward.
|
Bullet Seating (3).JPG
Bullet Seating (3) - Drop a bullet through the open end of the die body.
|
|
Bullet Seating (4).JPG
Bullet Seating (4) - Plase the multiuse tool (as shown) so that the bullet seater end rests on top of the bullet. Strike the top of the tool until the lock nut rests on the top of the die body.
|
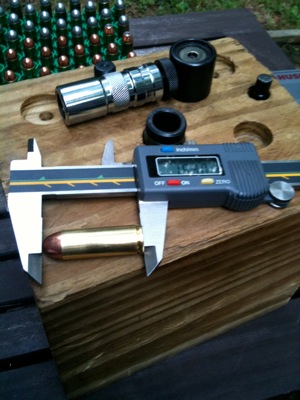
Bullet Adjustment.JPG
Bullet / Cartridge Length Adjustment - For each new bullet type: screw the bullet seater in toward the body, tighten the lock nut, seat the bullet, then measure the over all cartrige length. Adjust the bullet seater out (longer bullet seat tool results in shorter over all cartrige length), tighten the lock nut again, and repeat the bullet seating steps. Repeat this process until the desired overall length is achieved. OAL will need to be measured periodically throughout the run and slight adjustments made to the bullet seater and lock nut.
|
|
Crimping (1).JPG
Crimping (1) - Place the cartrige (bullet down) in the crimping end of the die body.
|
Climping (2).JPG
Crimping (2) - Invert the decapping chamber and place it over the base (primer end) of the cartrige. Strike decapping chamber with a hammer to roll the mouth of the case inward and crimp the bullet in place. Crimping is required for all revolver loades and those intended for use in a tubular magazine. Jacketted bullets for revolvers should have aa canelure that will indicate where the bullet should be crimped into place. Lead bullets can be crimped anywhere.
|
|